Removing a Firmware Password from a 2013 Mac Pro with a CH341A
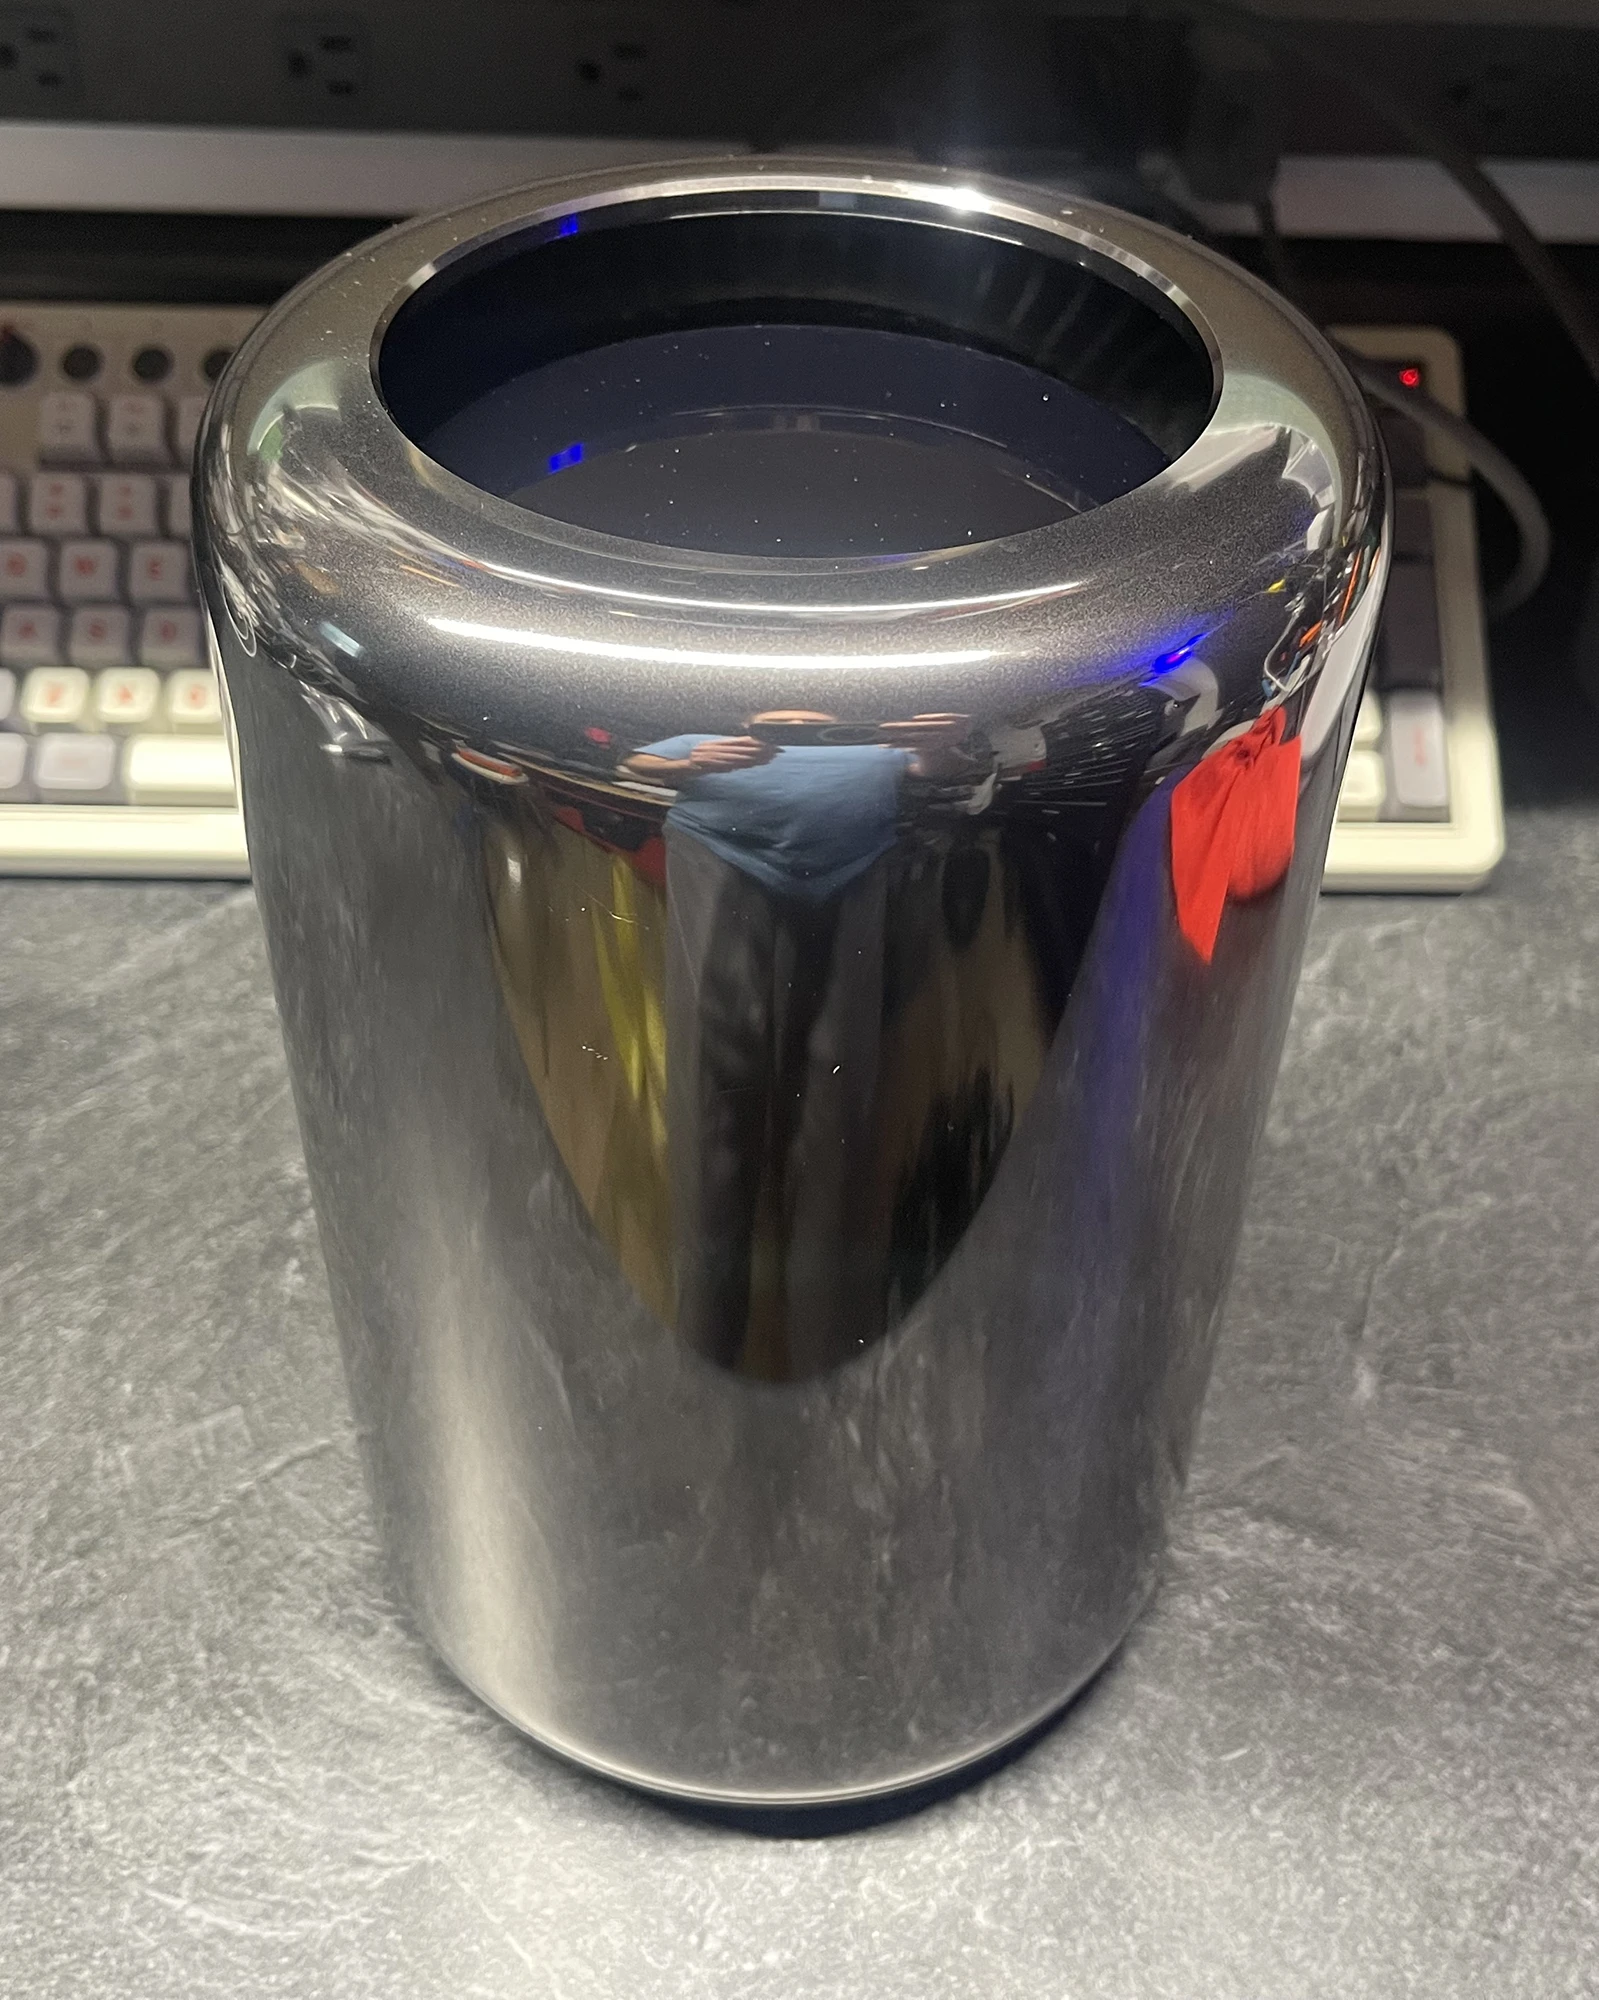
So I had a late 2013 Mac Pro sitting around that was firmware locked, and I finally decided to see if I could wipe the EFI password off it manually — with a CH341A SPI programmer and some guts. It think it’s a beautiful example of the industrial design and I don’t have the heart to send it to the recyclers.
This is a step-by-step of what I did, what worked, and what didn’t. I didn’t use any sketchy cracked software or weird boot disks. Just a cheap USB SPI programmer, SOIC clip, flashrom, and Hex Fiend.
Gear Used
- 2013 Mac Pro (trash can)
- CH341A SPI programmer (black version, unmodified)
- SOIC8 clip
- Multimeter (to confirm voltages)
- MacBook (M2, running macOS with Rosetta 2 installed)
- Software:
flashrom, Hex Fiend
Getting Started
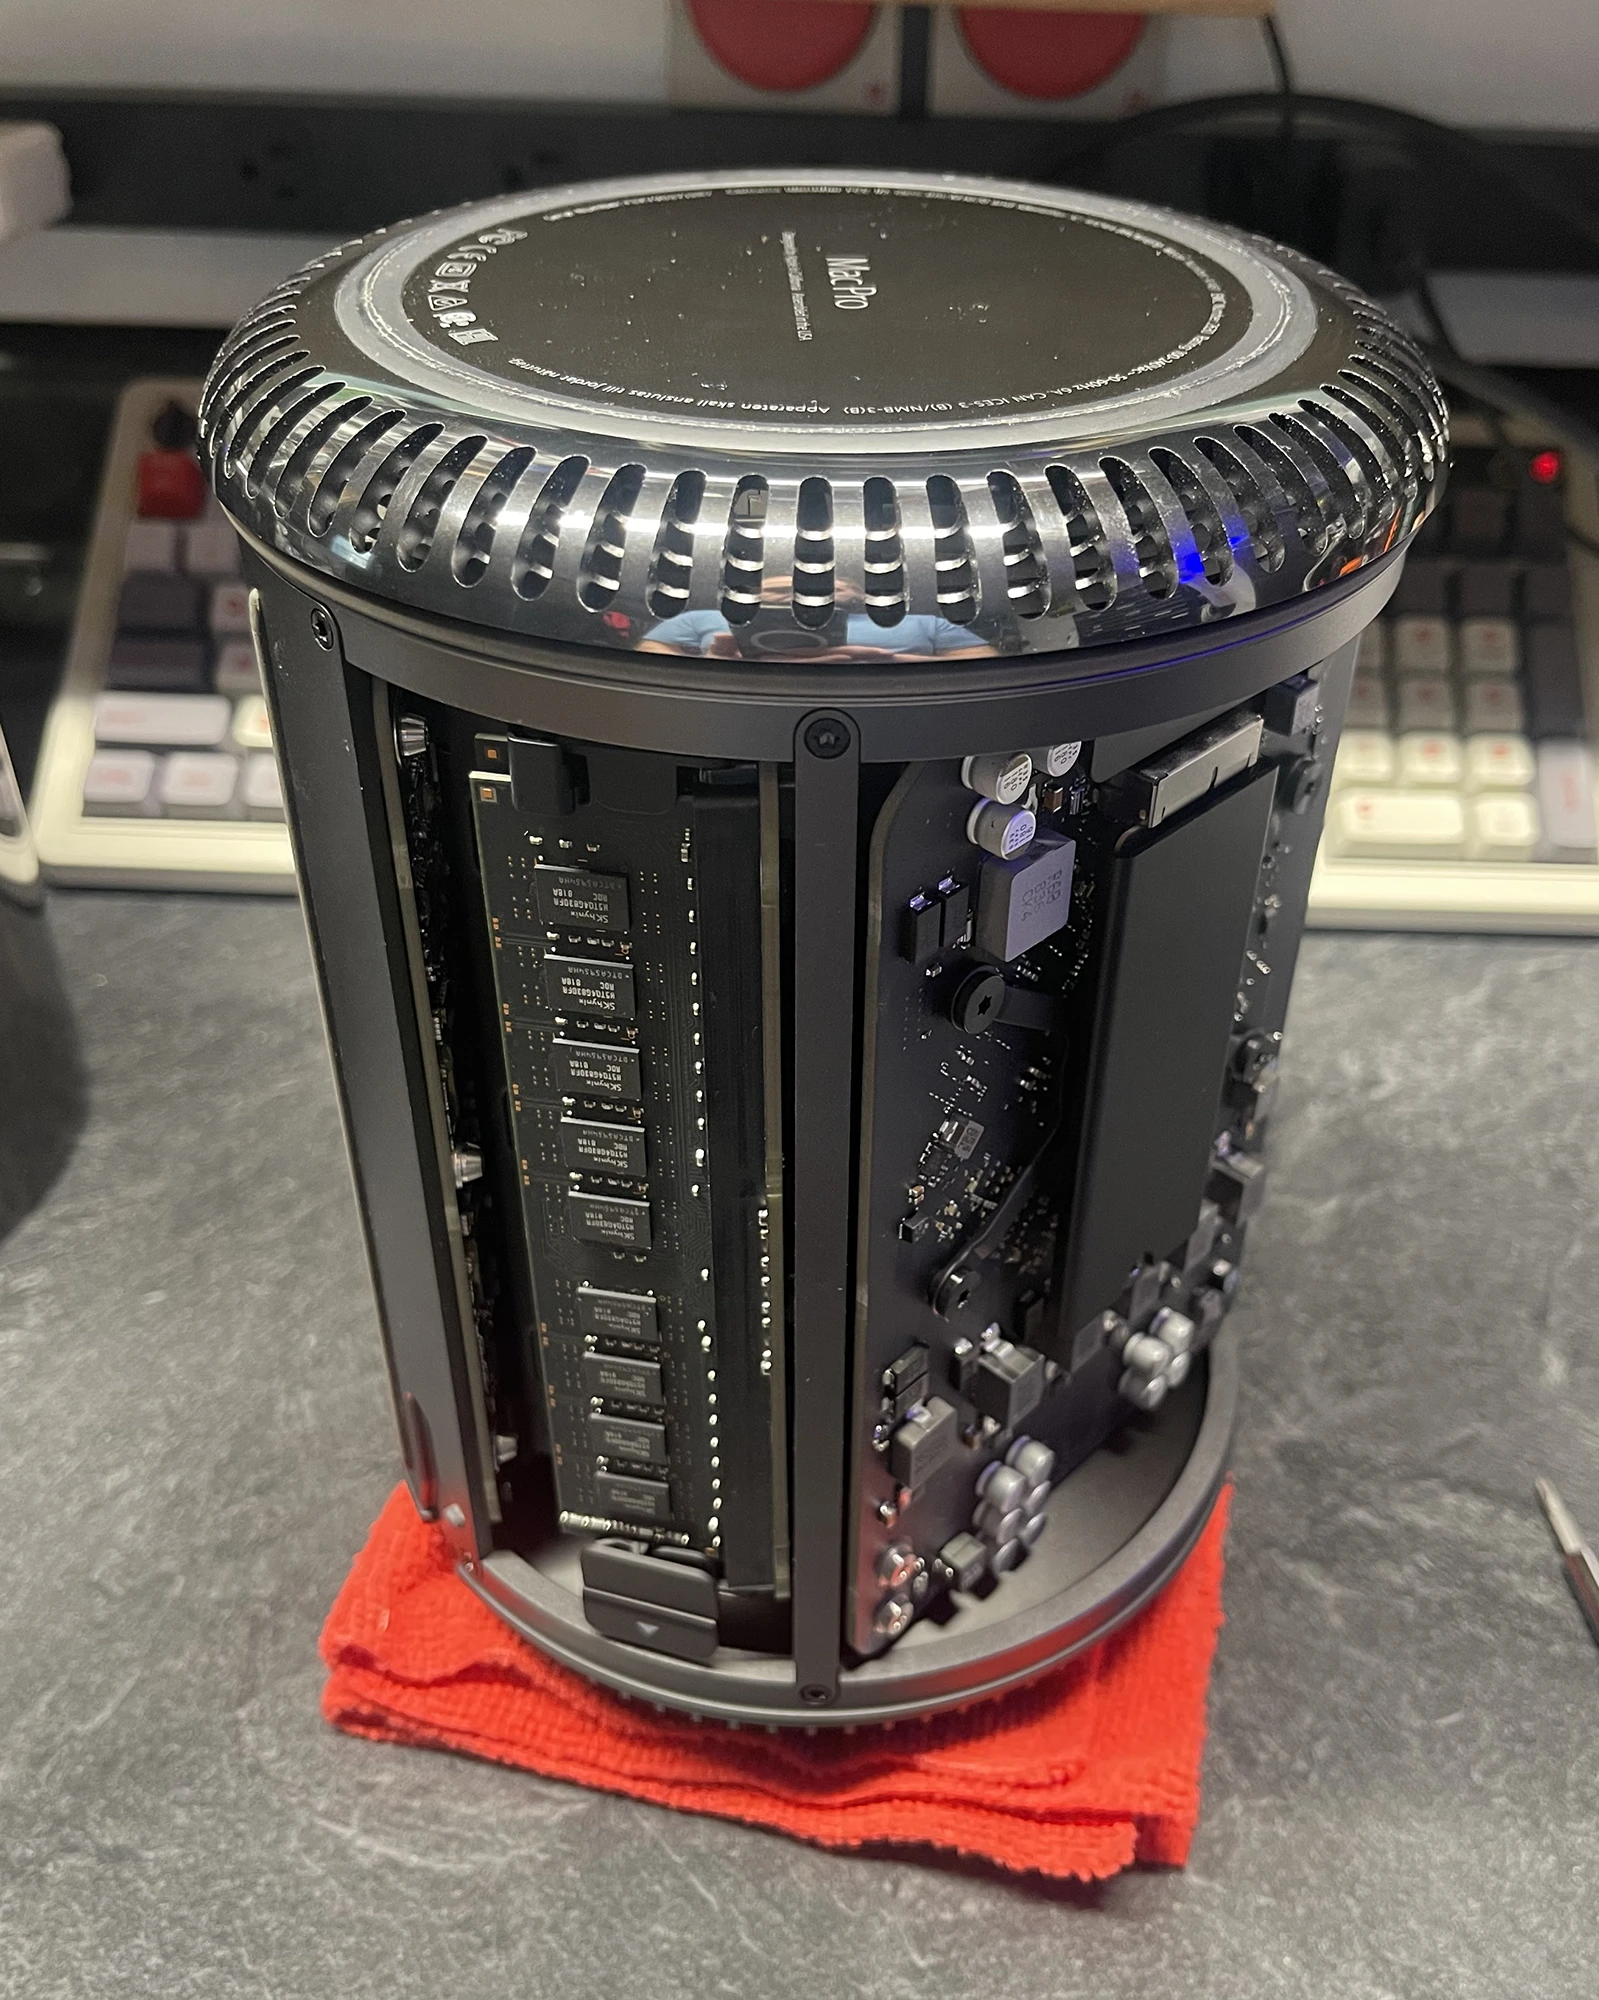
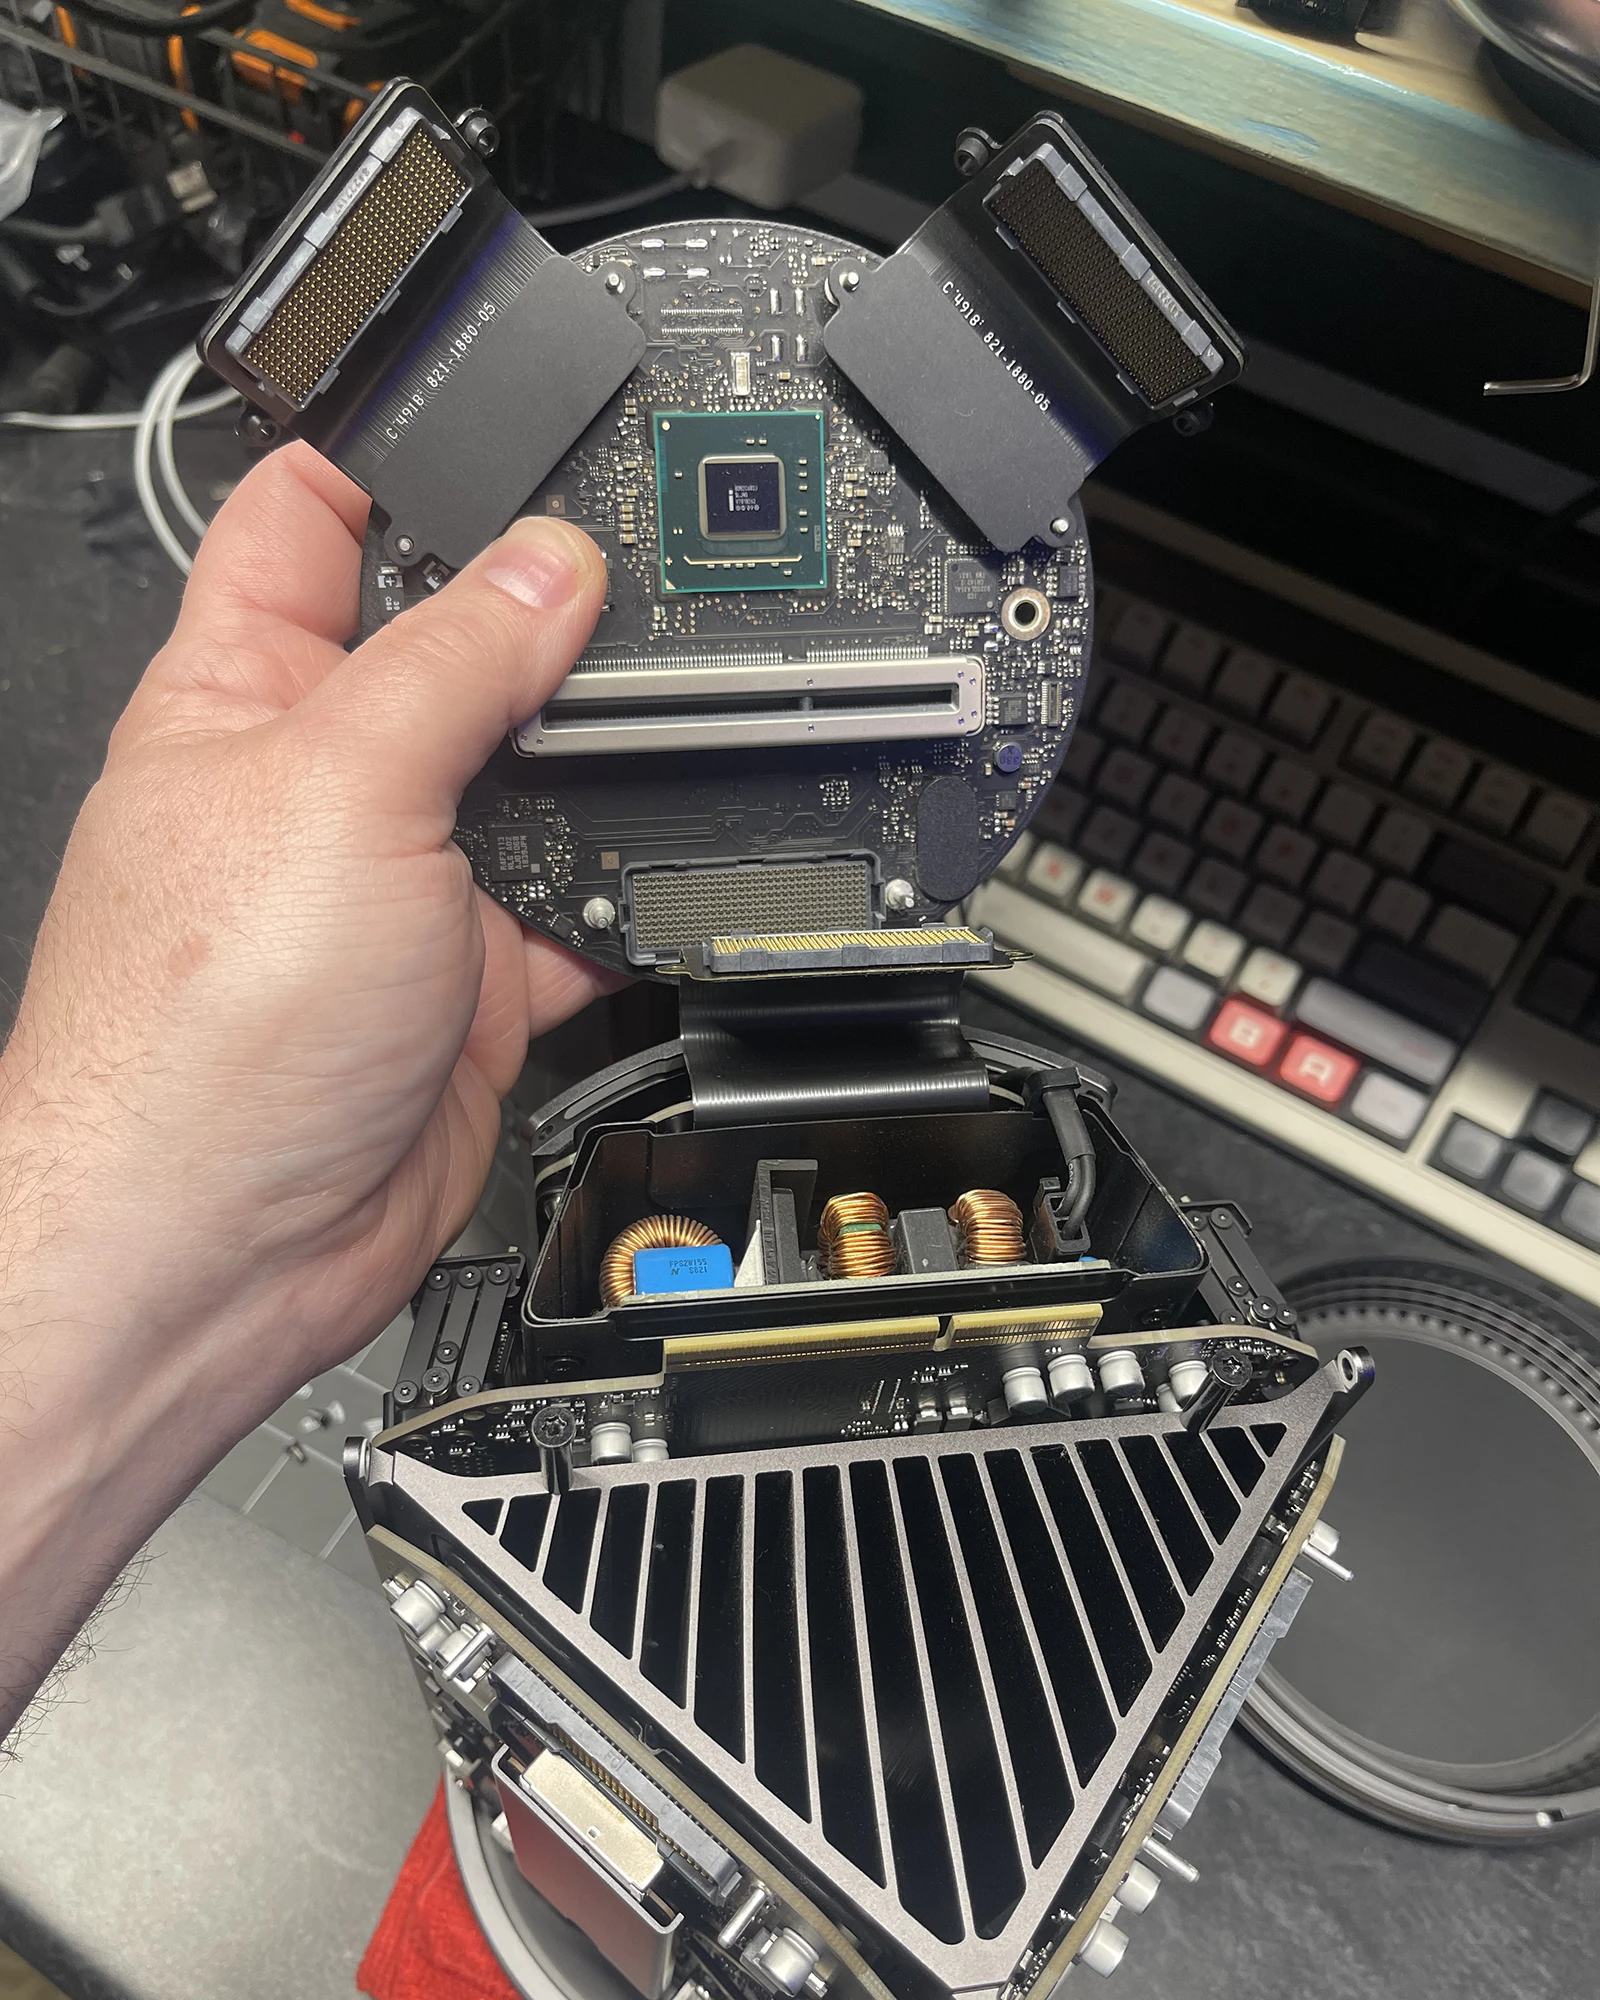
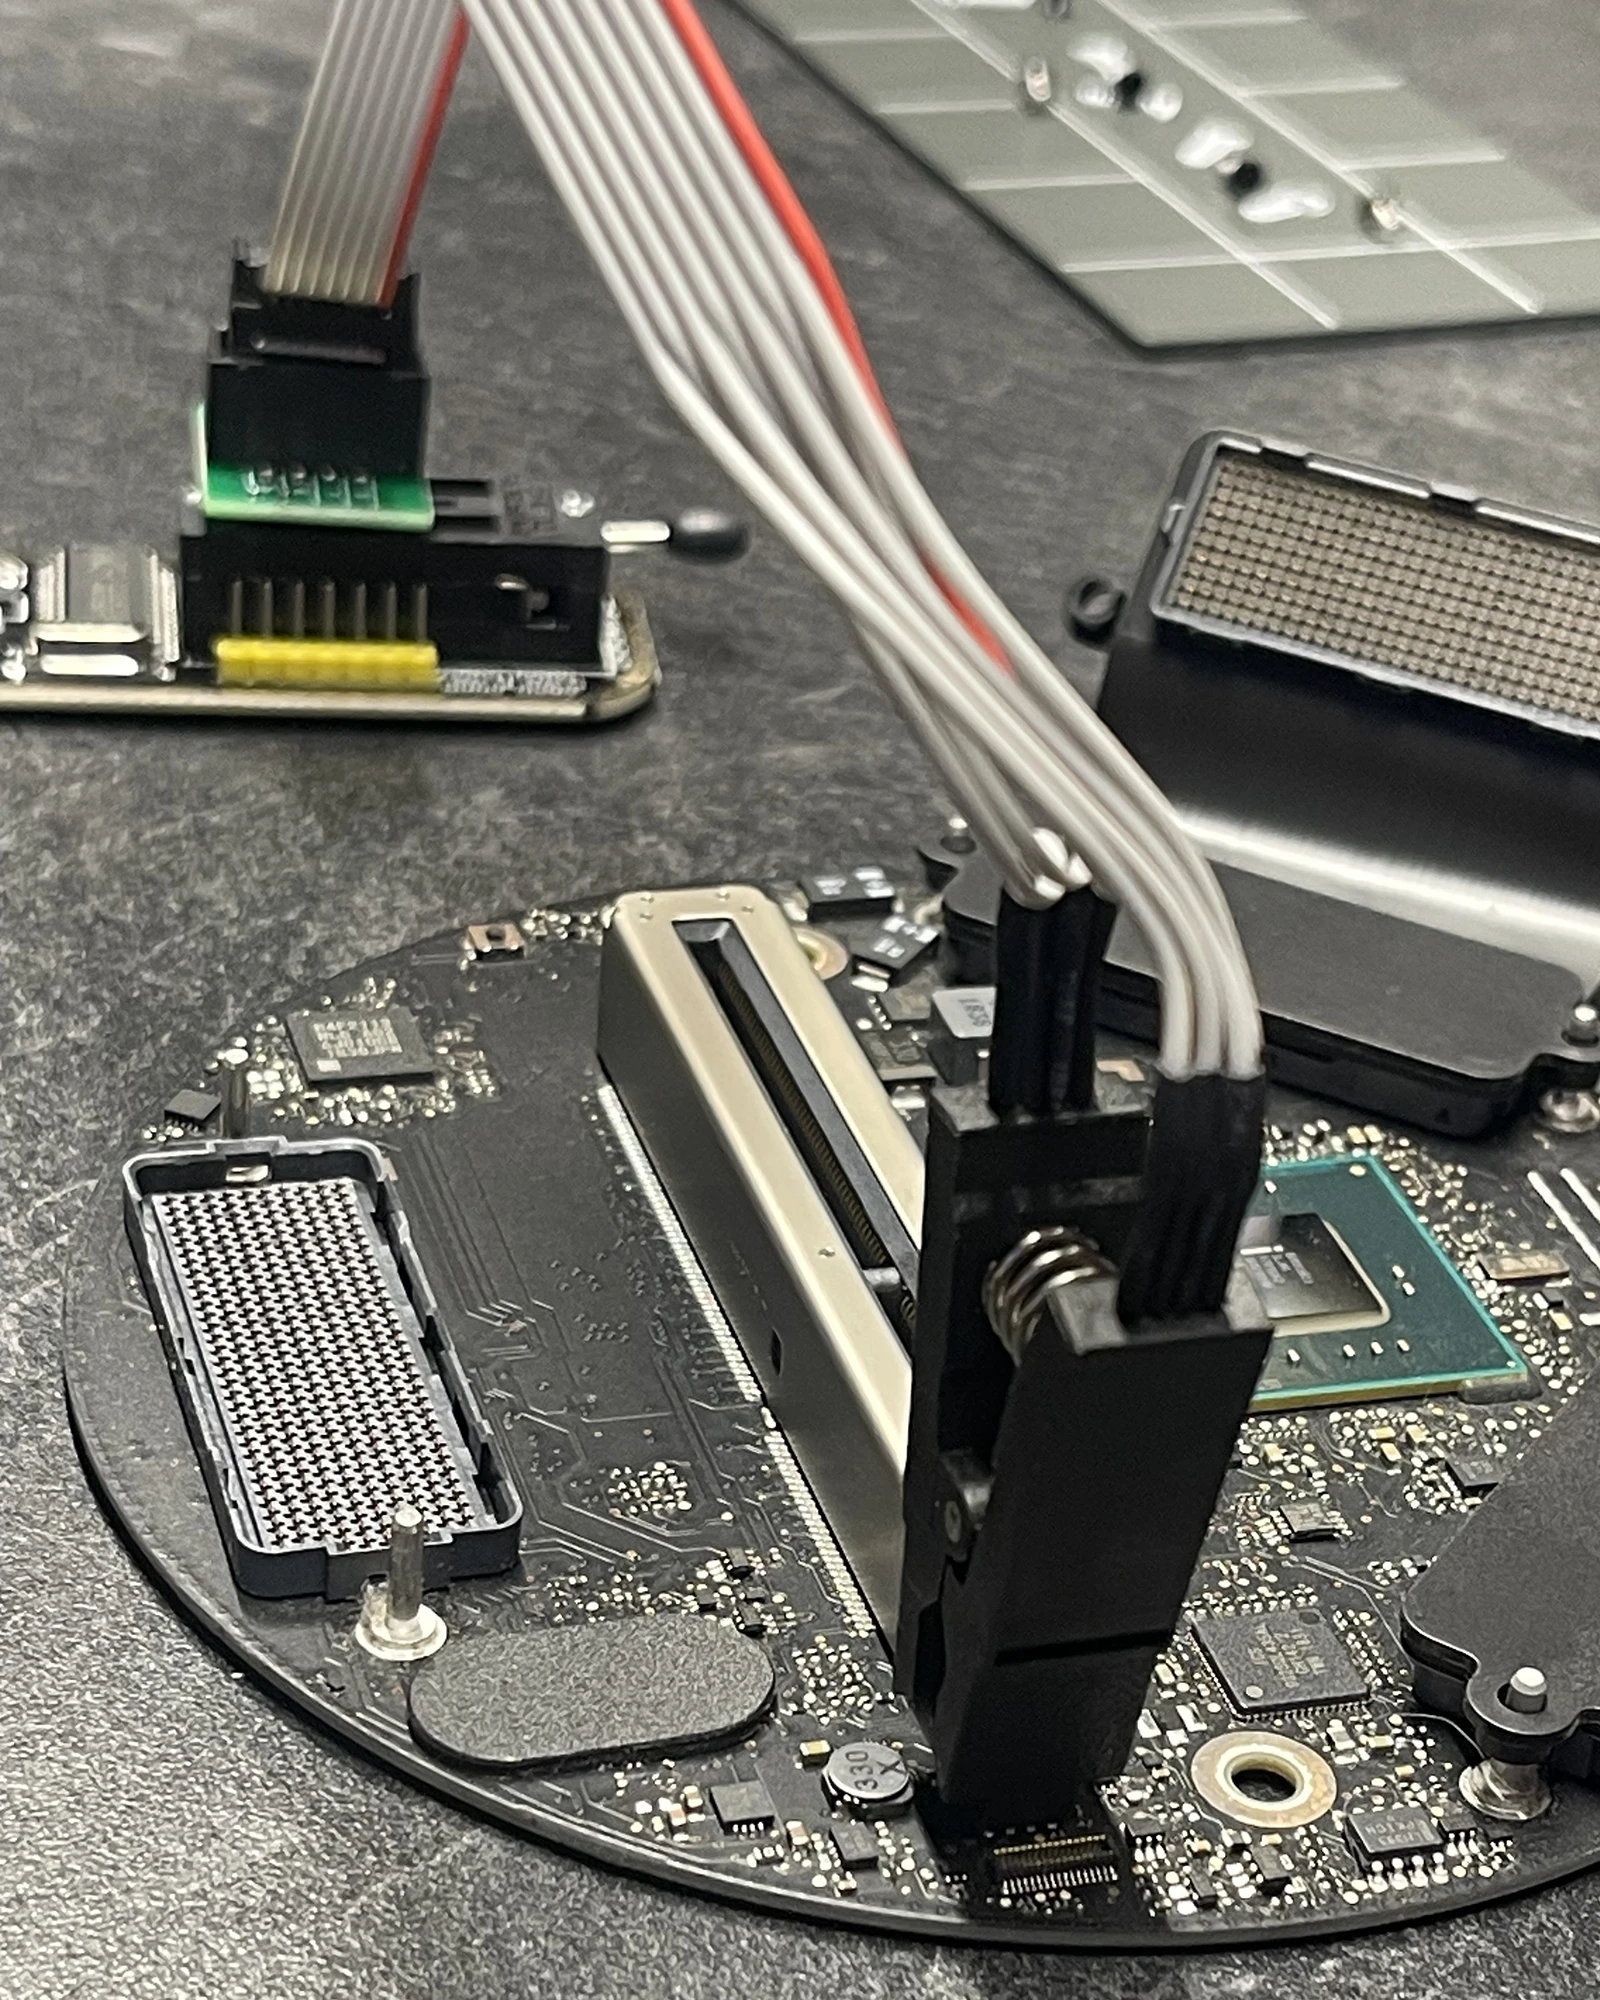
Not completely relevent, but disassembly of this was as easy as it gets for compact form factor Macs. The case pops off with a thumb switch. Flip it over and there are five T-10 screws around the base that hold it on. Once the base is off, there are two T-8 screws holding the board we want in place. This daughterboard contains a socket, and three ribbon cables with some special connectors. I did notice a spare connector on that board, I wonder what it’s for… Anyway, reassembly is just the same in reverse. Takes five minutes to take apart and put back together.

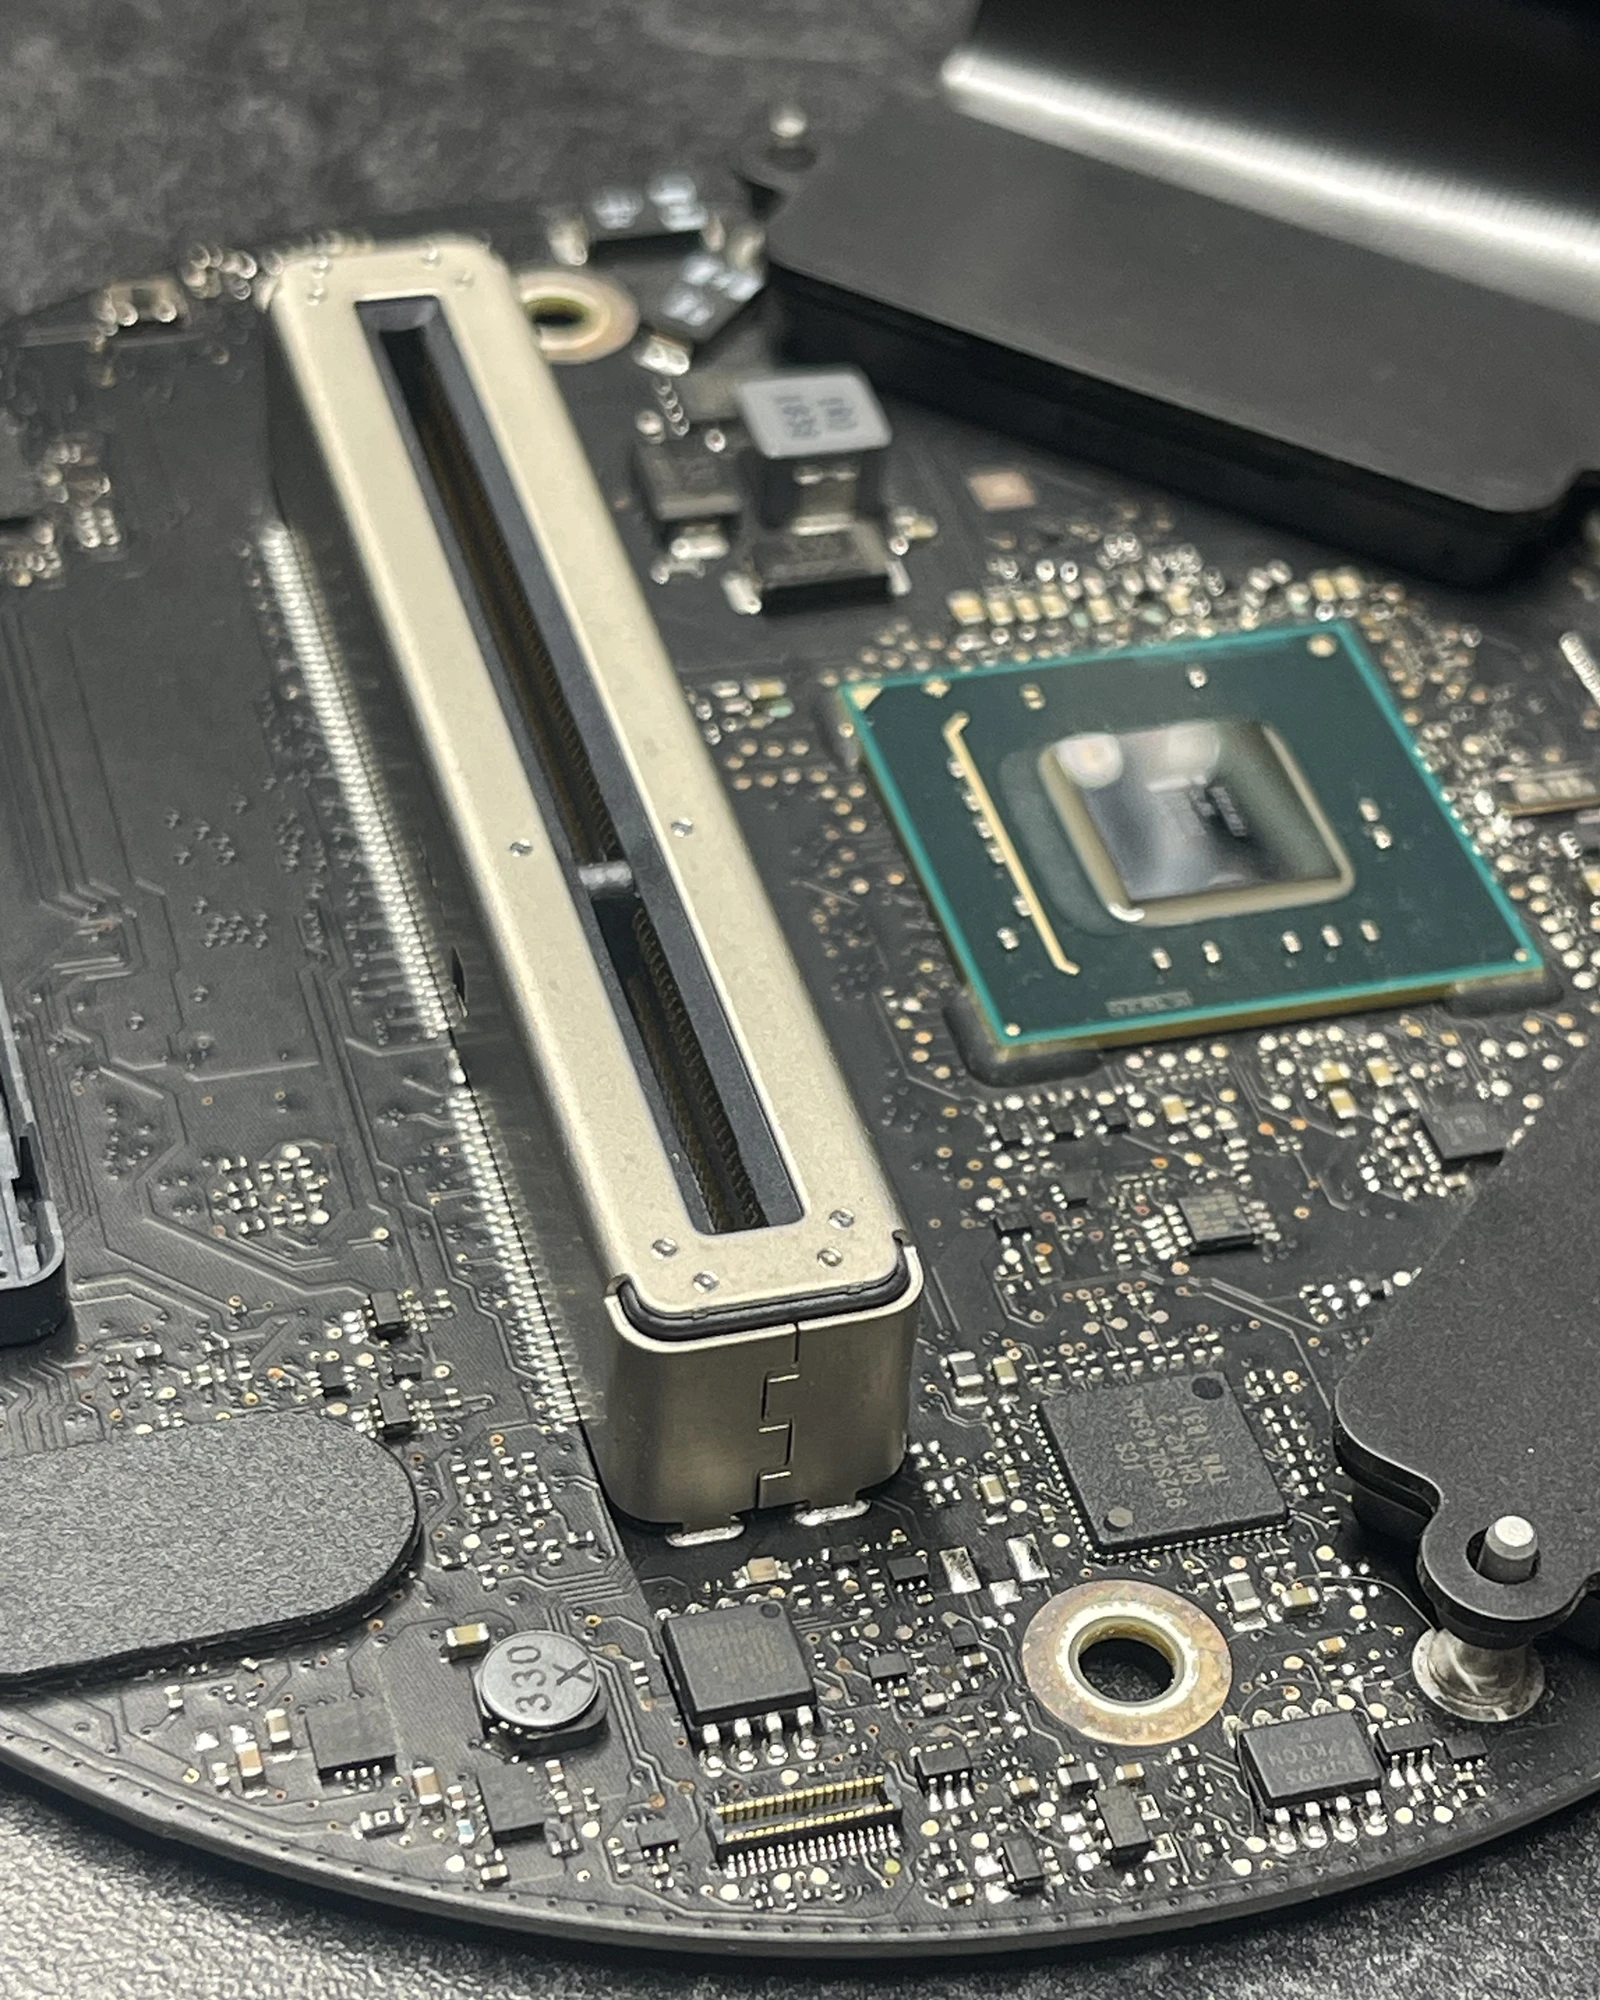
Step 1: Identifying the Chip
I opened the Mac Pro and located the SPI flash chip — in my case, a Macronix MX25L6405-series chip (8MB). There are slight variations (6405, 6405D, 6406E, etc.) but they all share the same ID and size.
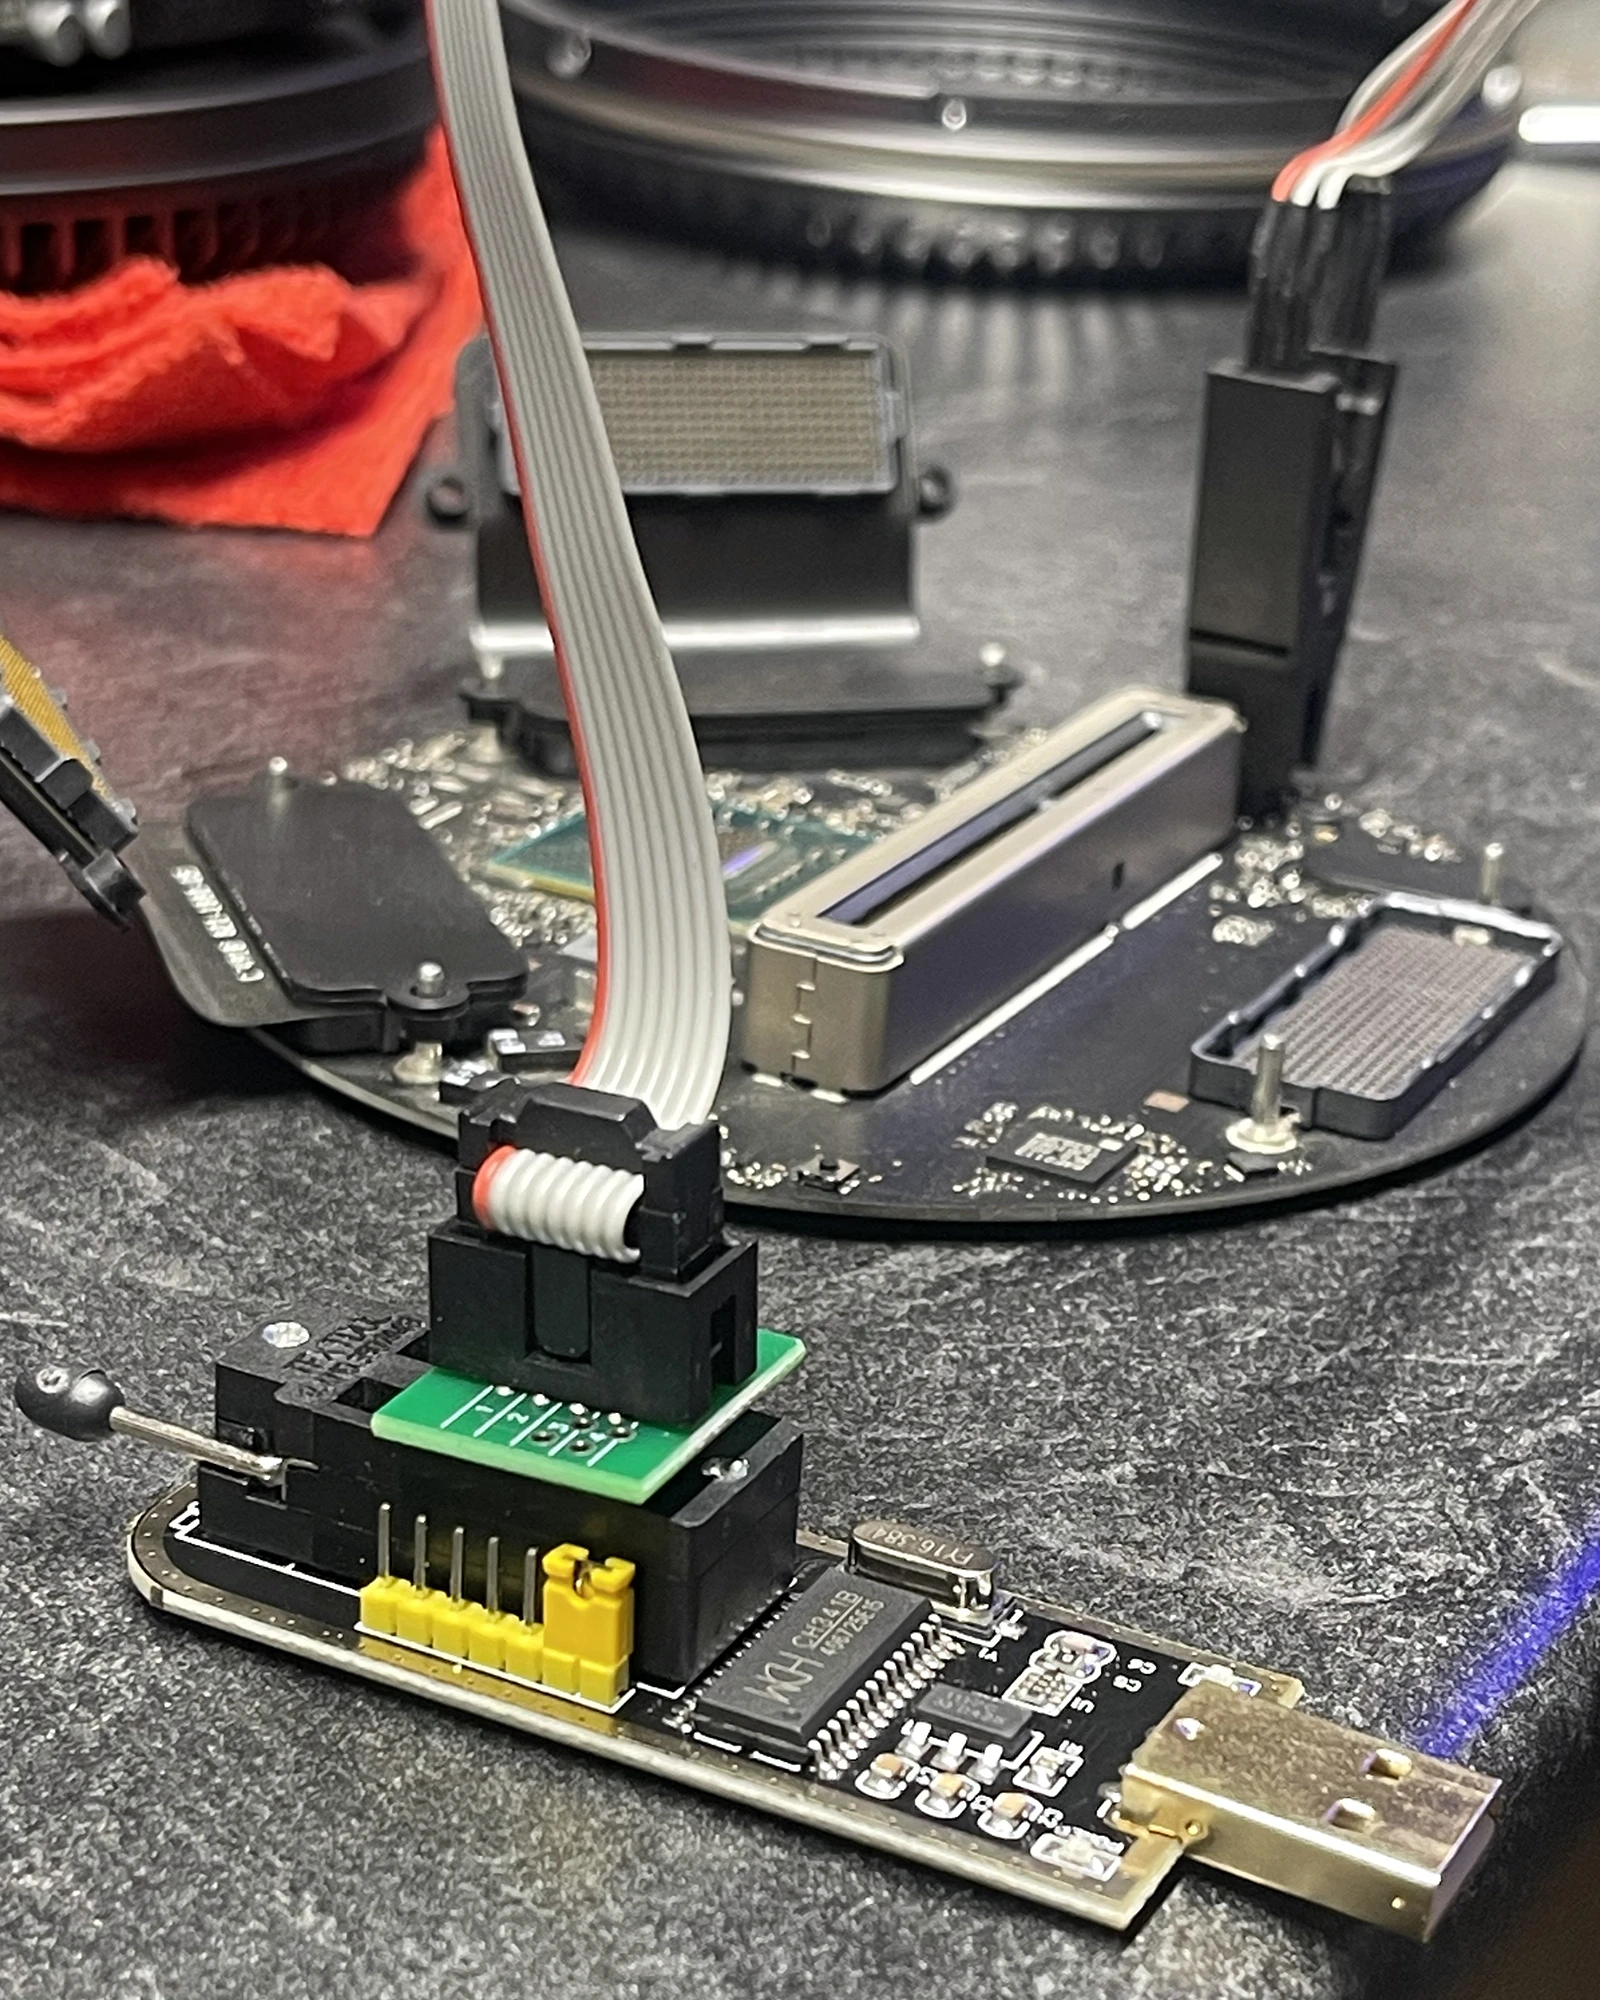
I used a SOIC8 clip to hook up the chip to the CH341A programmer, and before plugging anything in, I used a multimeter to confirm voltages:
- The VCC pin was delivering ~3.3V (safe)
- The data pins were ~5.1V, which gave me pause
There’s a lot of debate online about whether 5V data lines are safe with 3.3V chips. This Reddit thread [linked below] said people had no issues — and since the chip wasn’t mission critical, I figured I’d send it… annndddd it worked.
Step 2: Confirming Pinout and Setup
There’s no one official guide for the CH341A. I had to check multiple pinout diagrams across forums and GitHub gists to verify I had everything aligned right. But once clipped and double-checked with the multimeter, I plugged it in. Pay close attention to how the cable is attached to the programmer, and the clip is applied to the chip.
Step 3: Dumping the Chip with flashrom
I used flashrom installed via Homebrew. On macOS, it’s a bit temperamental — you’ll get some libusb entitlement warnings, but if you run it with sudo, it works fine.
sudo flashrom -p ch341a_spi -r testdump.bin
The chip was detected as one of several Macronix MX25L64 variants. I explicitly specified MX25L6405 using -c, and dumped it a second time just to verify consistency:
diff testdump.bin testdump2.bin
shasum testdump*.bin
They matched byte-for-byte. So far, so good.
Step 4: Modifying the Dump
I opened testdump.bin in Hex Fiend and searched for the $SVS marker — this section contains serial info, MLB, and the firmware password hash.
Most guides just say to blank out the password hashes (there are two), but none of them were particularly precise about where to start or stop. I decided to play it safe (or reckless?) and replaced everything from the last FF before $SVS all the way through until the padding FFs started repeating again. That included:
- The
$SVSmarker itself - A plaintext string labeled
MemoryConfigHashat the end — I wasn’t sure if it mattered, but I nuked it anyway - BOTH hashes, they each start with $SVS but don’t necessarily match..
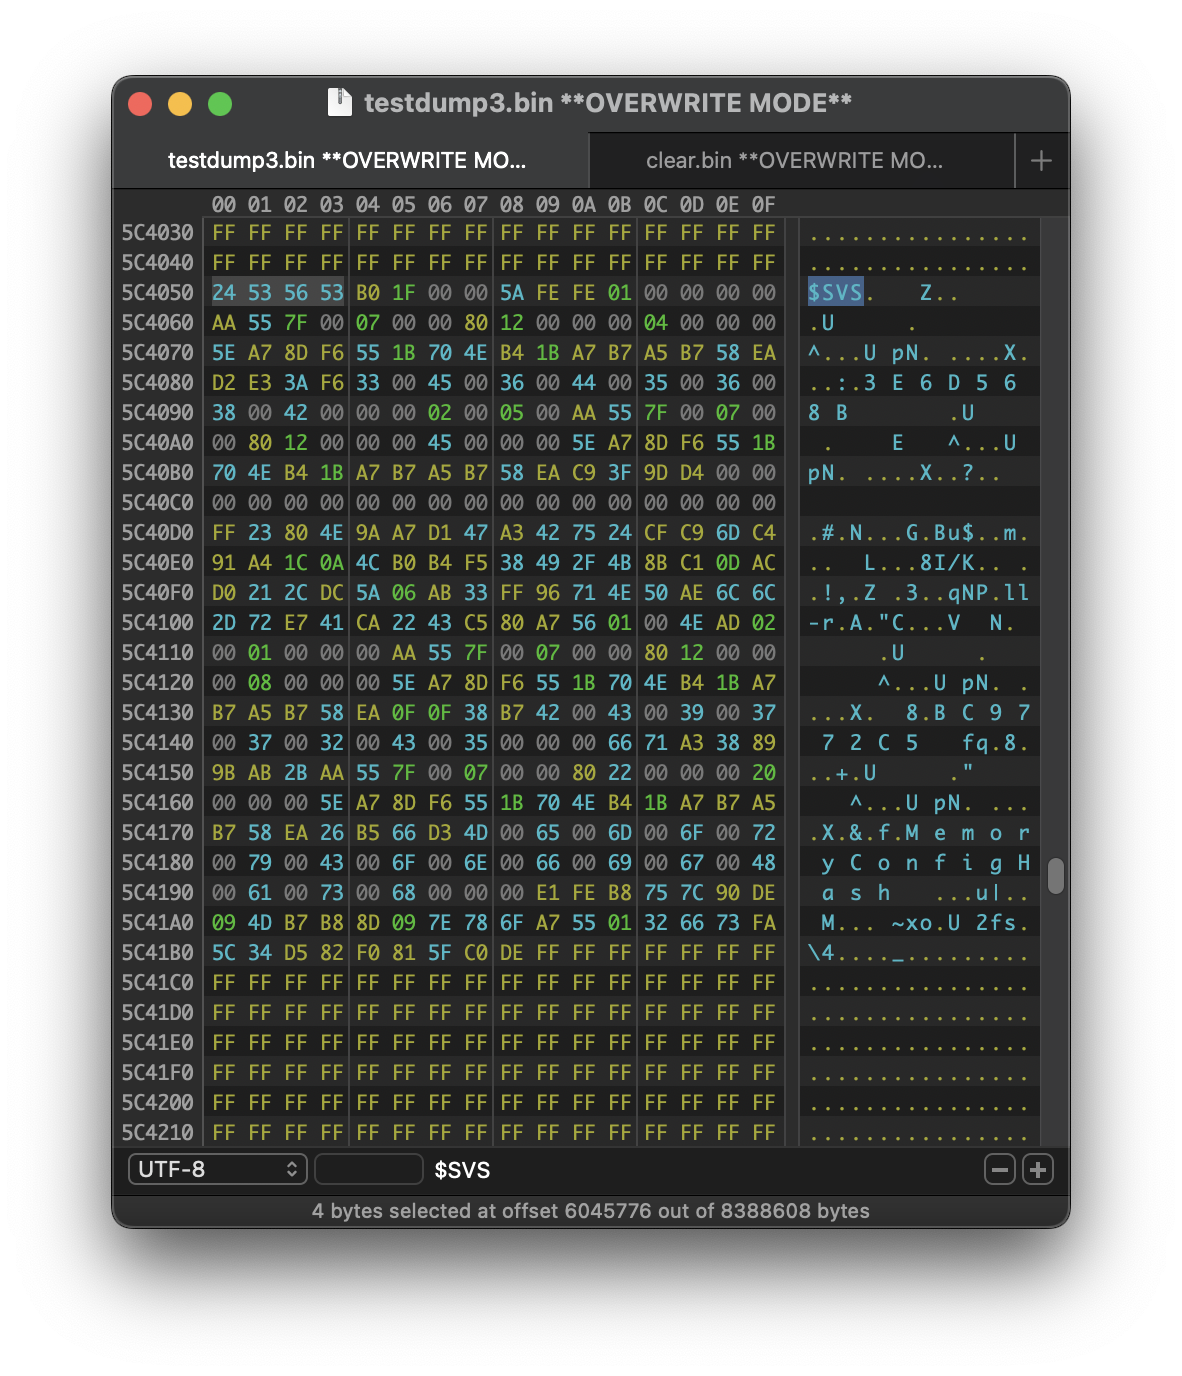
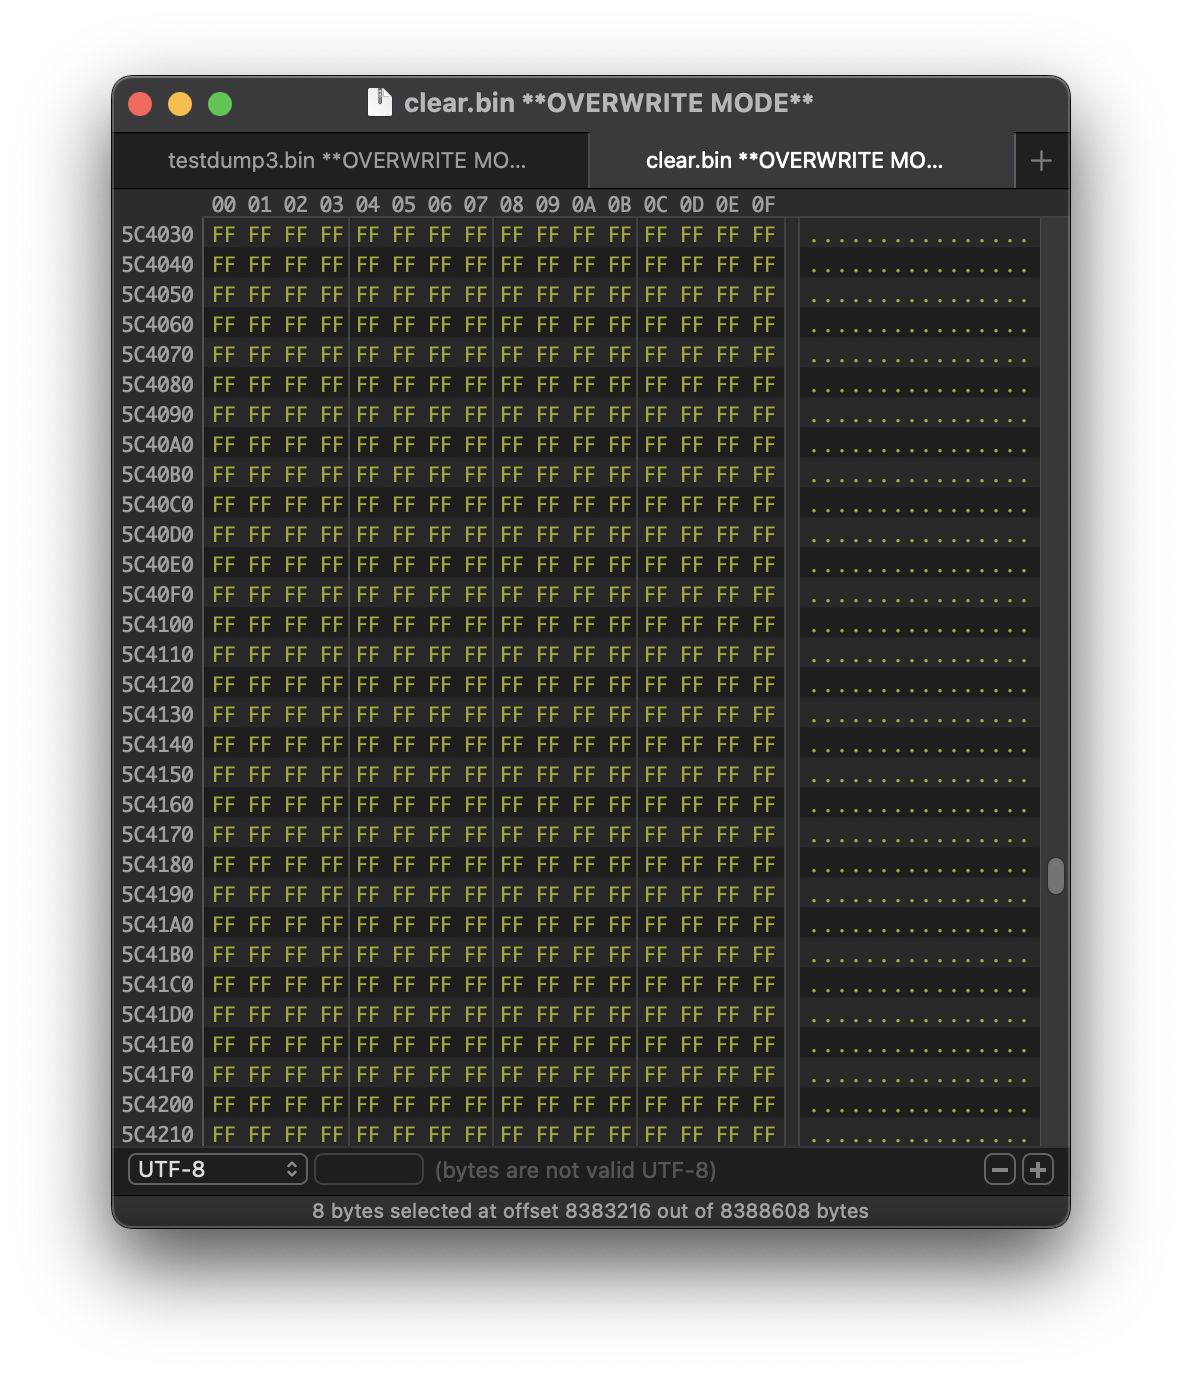
The file size didn’t change, and the structure looked intact — so I saved it as clear.bin and moved on.
Step 5: Erasing and Reflashing the Chip
With my edited dump saved as clear.bin, I first erased the chip:
sudo flashrom -p ch341a_spi -c "MX25L6405" -E
Then flashed the new image:
sudo flashrom -p ch341a_spi -c "MX25L6405" -w clear.bin
And verified it:
sudo flashrom -p ch341a_spi -c "MX25L6405" -v clear.bin
The write and verify passed with no issues.
Step 6: Booting It Up
After removing the clip and powering the Mac Pro back on, I was able to boot straight into recovery — no firmware password prompt. Mission accomplished.
Notes
The biggest surprise to me was that I didn’t need to mod the CH341A. Most of the guide I read online talk about needing to mod the thing in order to reduce the voltage to 3.1 across the board. In my case, the chip handled 5V on the data pins just fine. Would I recommend this for production systems? No. But for unlocking a personal machine for fun? Sure.
Also — documentation for this stuff is scattered. The flashrom wiki helps, but most of what I figured out came from Reddit, Gists, and some dusty old blogs.
Tools & Resources
-
flashrom
- Programmer docs: CH341A support
- Hex Fiend – hex editor for macOS
- Homebrew – used to install flashrom
- GitHub Gist – Macronix SPI dump
- BIOS password recovery notes
- Reddit thread – 5V CH341A use
Terminal Output (Simplified)
Note: The following output is cleaned up for clarity — repetitive or low-signal lines have been trimmed. Actual output may vary slightly depending on your system, USB stack, and version of
flashrom.
sudo flashrom -p ch341a_spi
flashrom v1.5.1 on Darwin 24.5.0 (arm64)
libusb: info [darwin_detach_kernel_driver] no capture entitlements...
No EEPROM/flash device found.

sudo flashrom -p ch341a_spi
Found Macronix flash chip "MX25L6405" (8192 kB, SPI) on ch341a_spi.
Multiple flash chip definitions match...
Please specify which chip definition to use with the -c <chipname> option.

sudo flashrom -p ch341a_spi -c "MX25L6405" -r testdump.bin
Reading flash... done.

diff testdump.bin testdump2.bin
shasum testdump*.bin
72158dae677cc220...  testdump.bin
72158dae677cc220...  testdump2.bin

sudo flashrom -p ch341a_spi -c "MX25L6405" -E
Erasing flash... done.

sudo flashrom -p ch341a_spi -c "MX25L6405" -w clear.bin
Updating flash chip contents... done.
Verifying flash... VERIFIED.